Nilex Network Scanning
CMDB Integration scans the corporate network for all
network devices and saves the information about their properties. Currently
version allows integration with Nilex Network
Scanning (referred to as NNS) and CapaInstaller.
Integration process is same for both source, only
different between NNS and CapaInstaller integration are properties which can be
imported. Lists of properties depends of source database. (Taking into account
that the integration process for NNS and Capainstaller are the same, in this
manual will be explained only process of NNS integration)
NNS properties
are divided in four groups:
1. CI
Ø Monitor
Ø Mouse
Ø OS
Ø Printer
2. Components
Ø Tape Device
Ø CD/DVD
Ø Hard Disk
Ø Network Adapter
Ø CPU
Ø RAM
Ø Video Adapter
Ø RAM Slot
3. Configuration
Ø System Information
Ø User Login
Ø User
Ø BIOS
4. Software
Ø Application
CapaInstaller
properties are divided in four groups:
1. CI
Ø Monitor
Ø Mouse
Ø OS
2. Components
Ø CD/DVD
Ø Hard Disk
Ø Network Adapter
Ø CPU
Ø RAM
Ø Video Adapter
3. Configuration
Ø System Information
Ø BIOS
4. Software
Ø Application
Importing from NNS to CMDB
To import data from NNS to CMDB, follow these steps:
Nilex Network Scanning
- STEP 1
Go to CMDB > CI List. Above the table, there is a
button Scan for Changes. Click on the button and
the following form will appear:
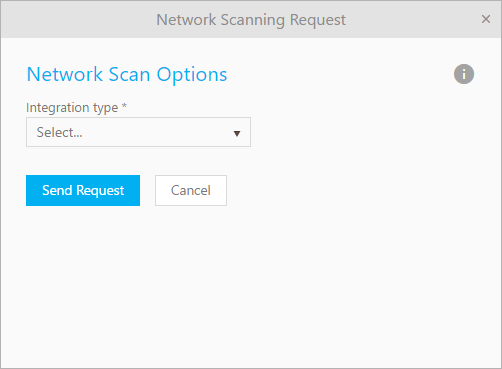
Network Scanning Request
Choose Integration type (NNS or CapaInstaller)
from Integration type dropdown field, and then click
on Send Request button.
Nilex Network Scanning
- STEP 2
On the next form you choose what information you want to
scan for.
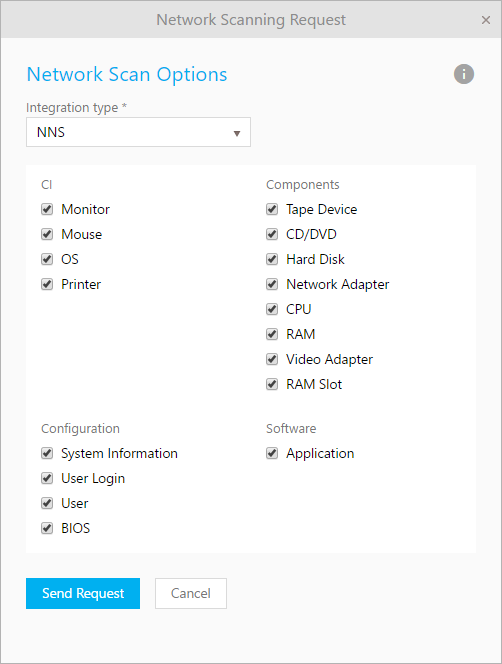
Network Scan Options
After choosing, click on button Send Request to start scanning process.
A progress bar will appear, notifying you about the can
progress. Depending on the NNS database size, this process might take a few
minutes.
When finished, you will get a notification which will
require you to click OK.
Nilex Network Scanning
- STEP 3
If changes were detected during scan, the link Scan
for Changes will be replaced with NNS Changes Detected. Click on this
button to import changes to CMDB. The following window will appear:
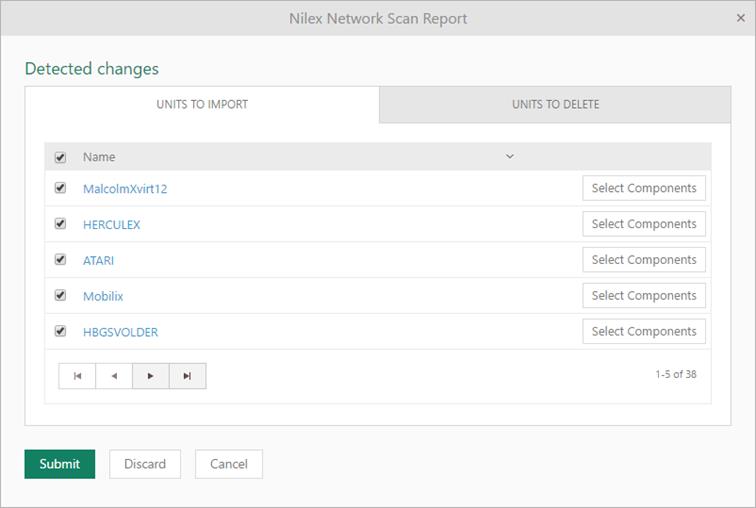
Nilex Network Scan Report
This form is divided in two tabs. First tab UNITS TO IMOPRT lists all changes detected by scanning
NNS database. You can select which CIs you want to import by checking or
unchecking checkbox on left side of CI name. Also you can click on button Select Components, and choose which CI components you
want to import.
Second tab UNITS TO DELETE
lists all changes between previously and current NNS scanning. e.g. If
you have printer in NSP database which is imported from NNS database, and in
meanwhile that printer is disconnected from the network. CMDB Integration will
compare NNS database with all units in NSP which are previously imported from
NNS and create lists of changes. You can select which CIs you want to “delete”
by checking or unchecking checkbox on left side of CI name. All selected Cis
will changed status in Retired.
After choosing which CI, configurations, components,
software and properties you want to import in CMDB, click on the Import button. Importing will take a few minutes and
after that all of chosen CIs will be imported in CMDB after which you will be
able to find them in the CMDB list.