The units are also coloured in the list Unit list. The colours signify the following:
•Blue – Agent with current version and currently connected.
•Marine blue – Custom unit (without agent) that is online.
•Olive green – Old version of agent installed and connected.
•Red –Unit is registered, but not online.
As mentioned above colours blue, marine blue and red, as well as column status show if a unit is connected or not.
Installed agents will report their presence as soon as they get online – NNS service is passively waiting. On the other hand, when it comes to SNMP and unknown units, the service will check actively if units are online or not.
SNMP units are checked after IP and MAC address, appropriate for the dynamic IP environment.
Unknown units are checked only after their IP address. Therefore it is important to either make sure these units have a static IP addresses, turn off this function or avoid saving unknown units at all. The function that checks units’ presence is turned on/off in NNS console System settings. How to add a unit is explained in topic Register a unit without agent.
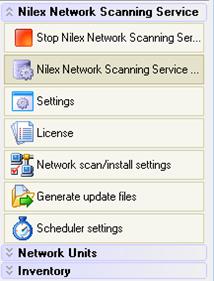
Menu panel
•Start/Stop Nilex Network Scanning Service – starts or stops the service on host server.
•Nilex Network Scanning Service Settings – opens the settings dialog with most of the settings for the service.
•Settings – settings for the connection to the NNS service host and port, language and log.
•License – the dialog where you can see and change the license key. Used e.g. when upgrading with more units.
•Network scan/install settings – a dialog with settings concerning the scanning of the network.
•Generate update files – use to create/generate an agent installation file that can be installed through a third party tool(e.g. SMS, ZenWorks). Read more about this function in installation manual section Install agent by ”agent installer”.
•Scheduler settings – settings for scheduled tasks.
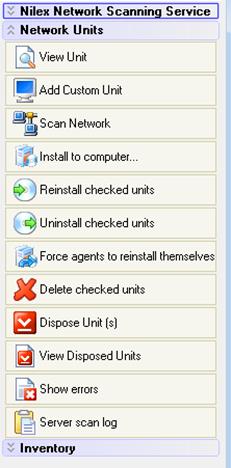
•View Unit – opens properties for the unit.
•Add custom unit – opens properties for a (new) custom unit. The values are stated manually and unit treated as an SNMP or unknown.
•Scan Network – opens a dialog for scanning of the network.
•Install to computer – opens a dialog where you can state an IP address of network name in order to install an agent.
•Reinstall checked units – reinstalls the agent on the checked units.
•Uninstall checked units – removes the agent on checked units and removes the unit from the database.
•Force agents to reinstall themselves – reinstalls agent that were not installed by this tool.
•Delete checked units – deletes checked units without removing the agent.
•Dispose units – Add checked unit to the Disposed list.
•View disposed units – Open Disposed list.
•Show errors – open the error dialog.
•Server scan log – open the dialog with scheduled scan log.