When an agent has been installed on a computer, it will be added in the list as a new unit when agent connects.
There are two ways to install agents from Nilex Network Scanning. Either by scanning the network and deploy agents from the found unit list or to choose in the menu Network Units > Install to Computer (Ctrl + L). The Define Unit dialog is shown:
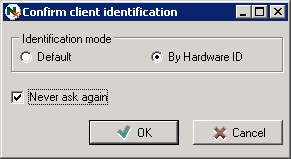
Here you can enter either computer name or an IP address. Click on Accept to install. If this is the first time, the Confirm client identification dialog may show:

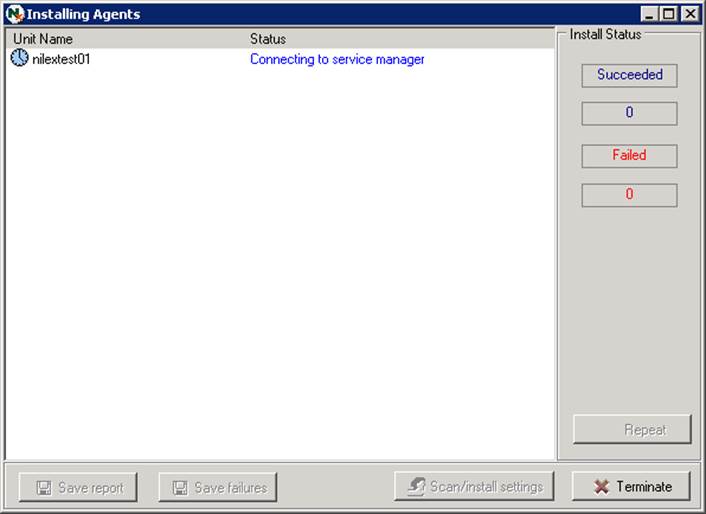
Chose by Hardware ID to improve identification used, and check“Never ask again. This can later be changed in System settings. Chose OK and the Installing Agent dialog appears:

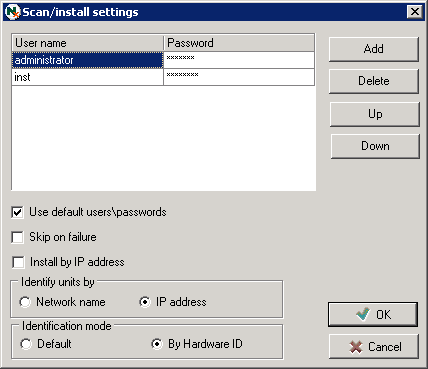
If there was any problem with the agent installation you can open Scan/install settings from here and make changes, and then click Repeat to try again.

Here you can for example change to install by IP address or change account for authentication. For more information about these settings, see Topic Scanning and install settings.