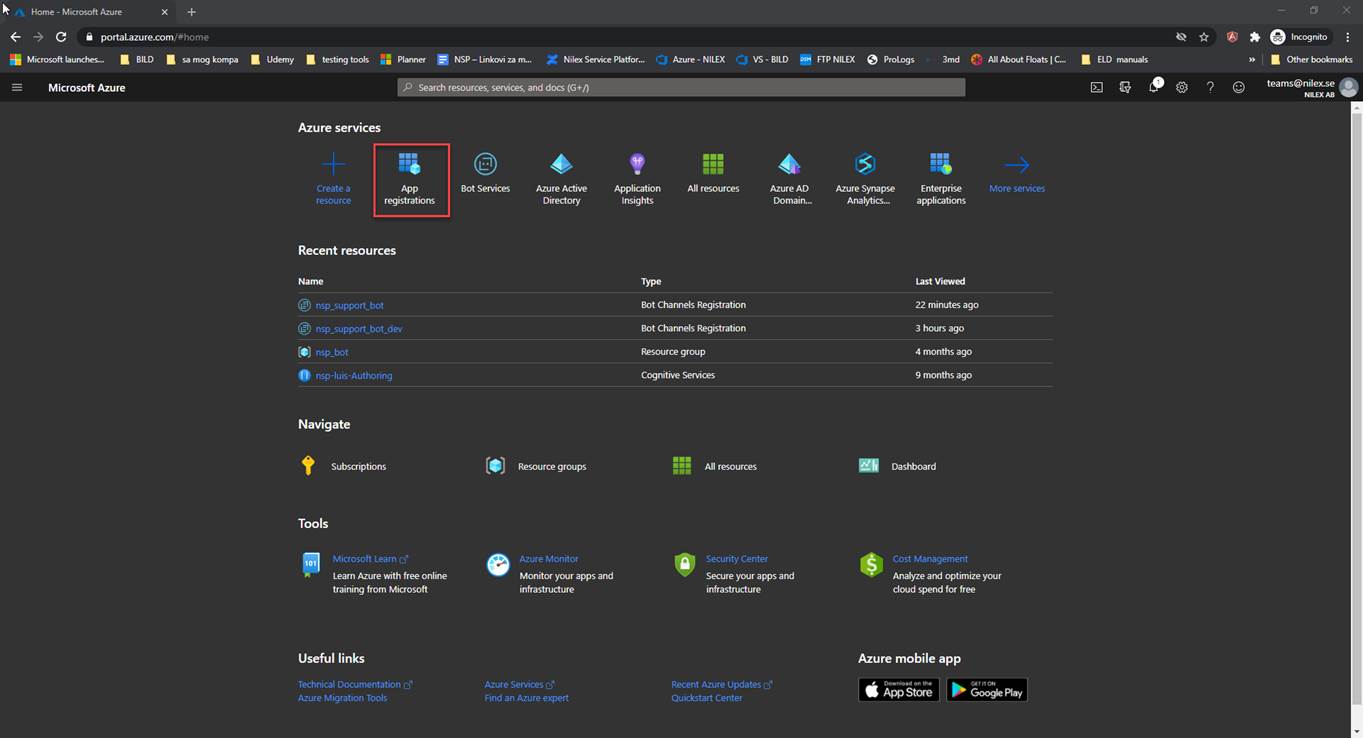
Go to Azure portal Home page and click on App registration:
Azure Home page
Now click on New registration:
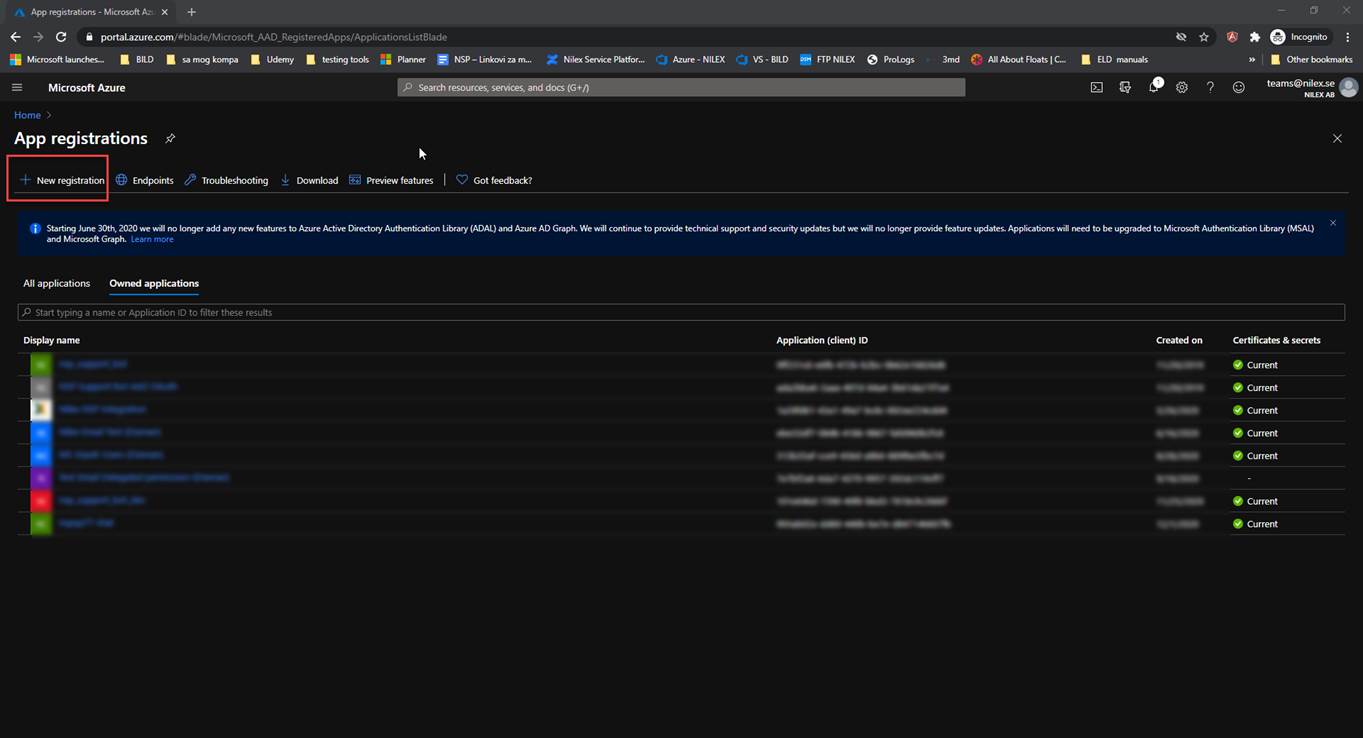 Azure – New app
registration
Azure – New app
registration
Now you need to fill in the following fields:
•Name – insert App name
•Support account types – Choose first one (Accounts in this organizational directory only)
•Redirect URI (optional): Choose WEB in dropdown and type the following URL: https://token.botframework.com/.auth/web/redirect
When you fill in the fields click on Register button.
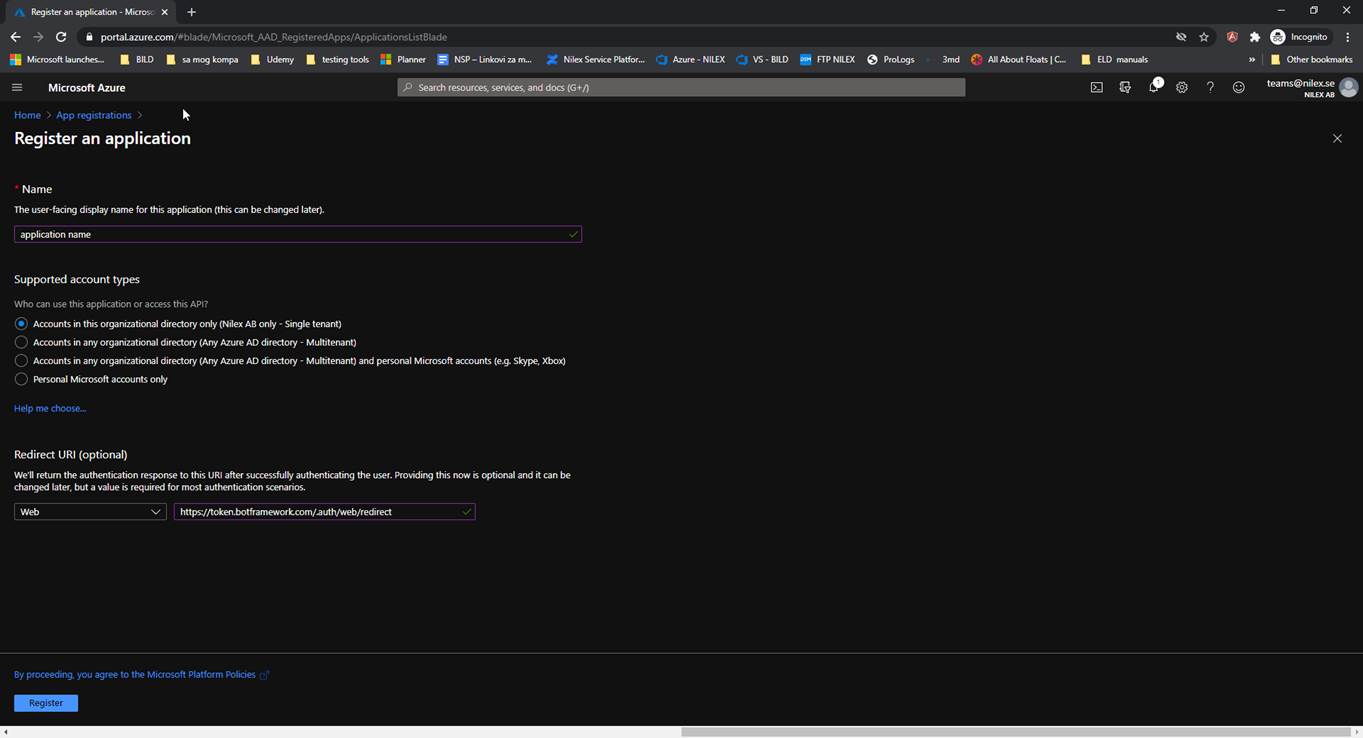
Azure – Register an application
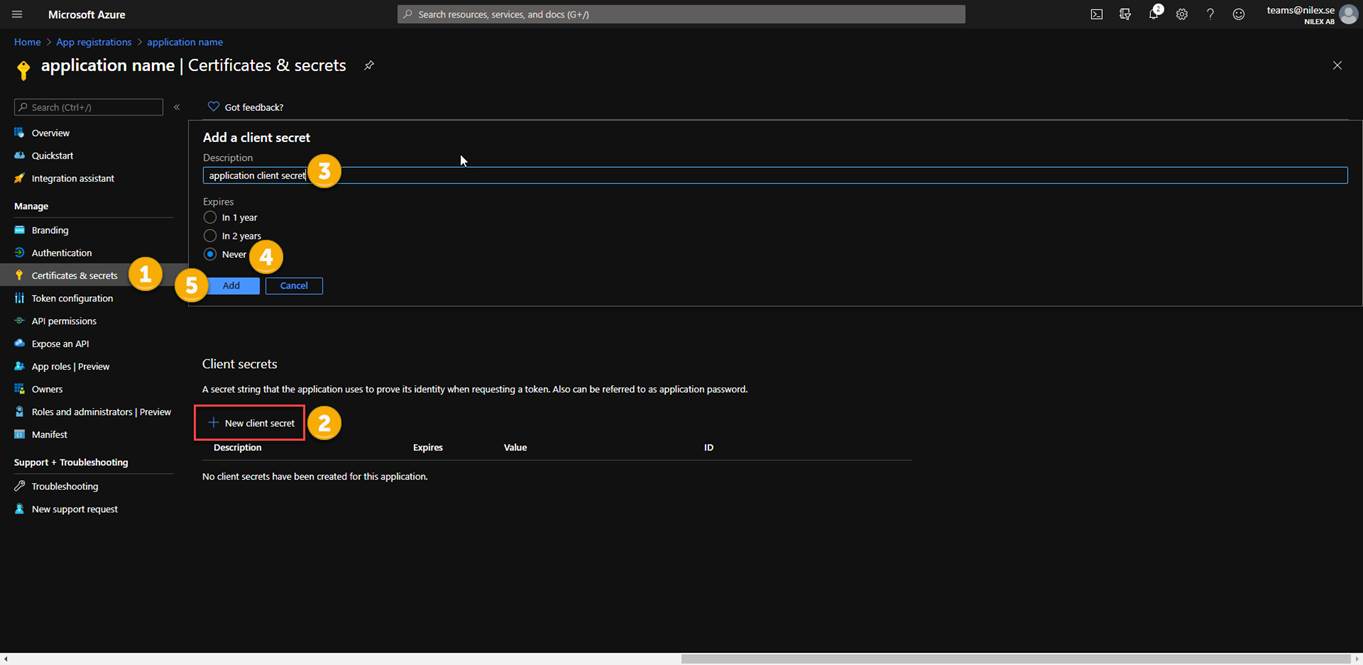
When you finish with app registration you need to create API Client secret.
AZURE – API Access Key
5. Click on Certificates & secrets
6. Then click on New client secret
7. In opened popup insert key DESCRIPTION in description property
8. Choose Never in EXPIRES property
9. Click Add and after that key Value will be generated and you will get notification “Copy the key value. You won't be able to retrieve after you leave this blade.”
NOTE: You will use this key value later In OAuth connection settings for CHAT transcript
Now go back to Bot Channel Registration page and choose Settings, scroll down to find Azure Active Directory v2 and click Add Settings.
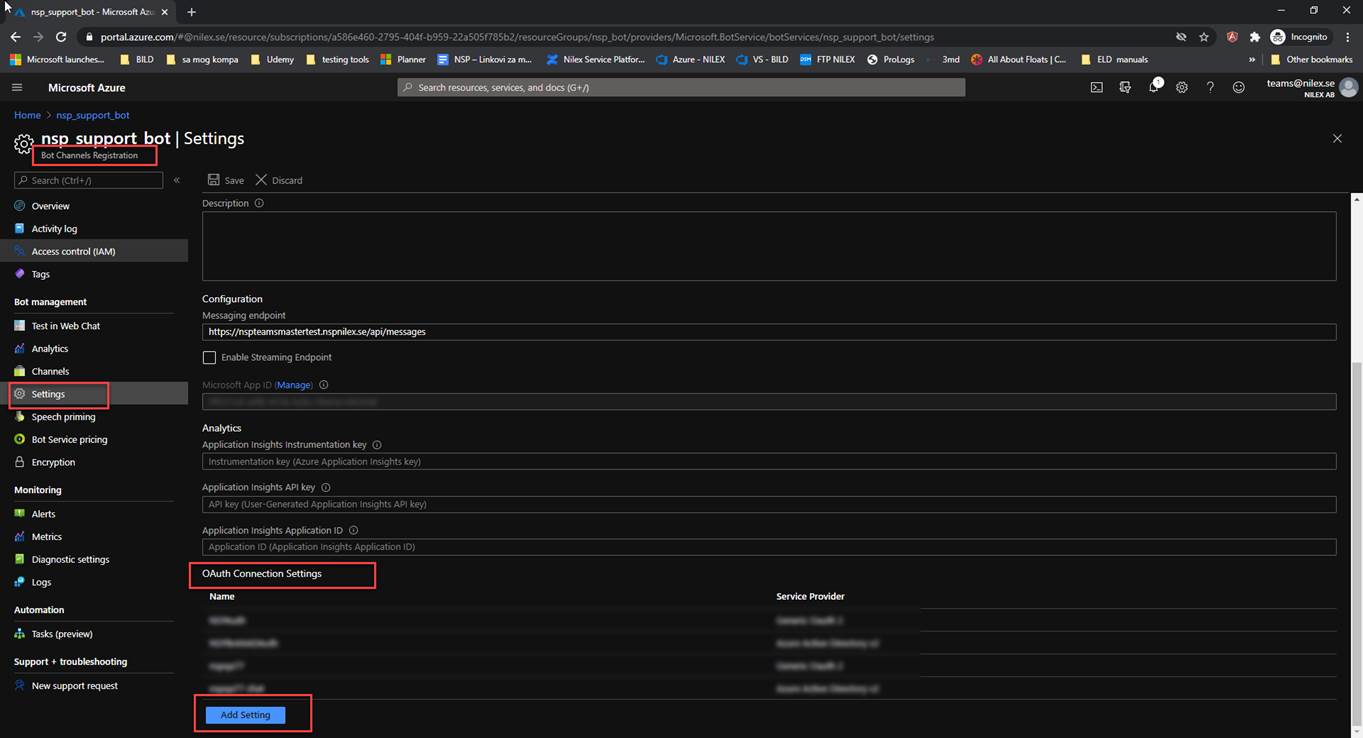
Bot Channel Registration – add new OAuth Connection Settings
•Name - Insert Azure Active Directory v2 connection name
•Service provider – From dropdown choose Azure Active Directory v2
•Client ID – insert Client ID from app you previously created. *
•Client secret – insert Client Secret value from app you previously created.
•Token Exchange URL -leave this field emppty
•Tenant ID - insert Tenant ID value from app you perviously created. *
•Scopes – insert “Chat.ReadWrite User.Read User.ReadBasic.All email openid profile”
NOTE: You will use this OAuth connection name later in Microsoft Teams application for settings NSP integration (field: NSP OAuth Connection Name)
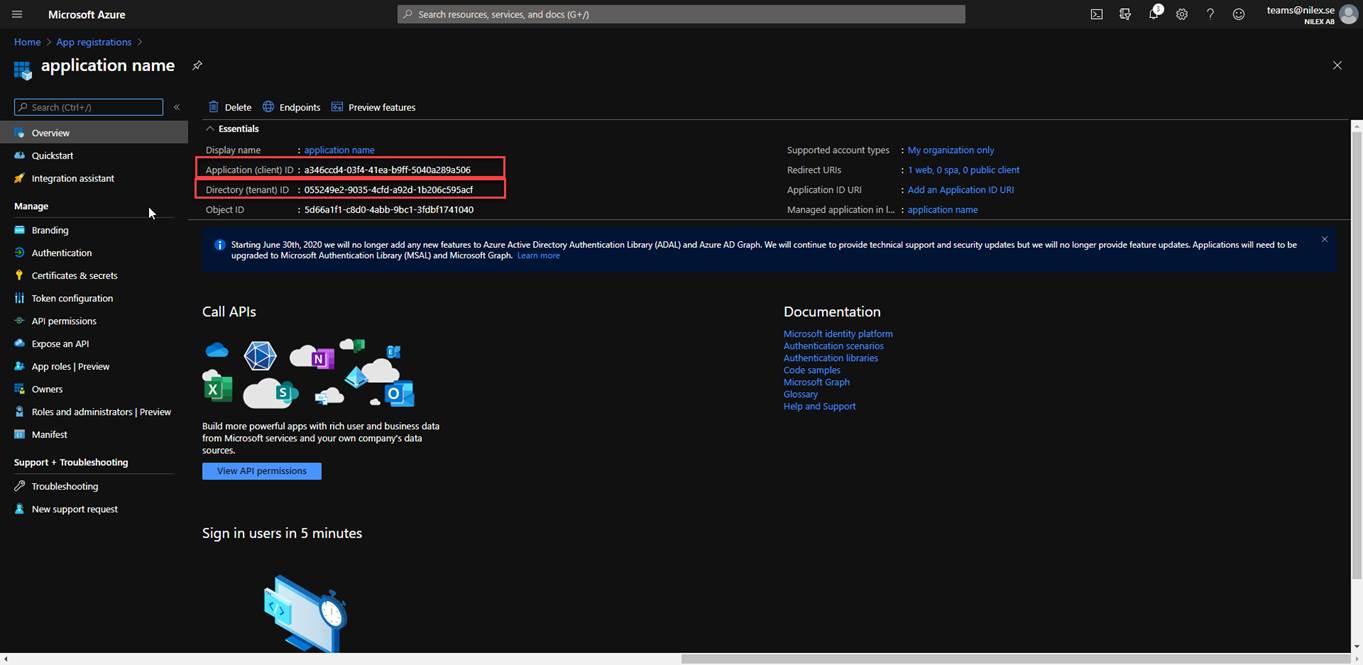
Client ID and Tenant ID value you can find in Application Overview: