 is
used to edit and delete existing information.
is
used to edit and delete existing information.Products > tab Vendors.
Here you configure the vendors used for CI and Contract delivery. The table shows all Vendors existing in database.
To add a new vendor, click button Add Vendor. First step is to select Vendor Type in a popup.
In the opened form you define all product details. The list below shows the default properties. Other custom properties can have been added to your specified Product Type.
•Name (required field).
•Type: This is the Vendor Type you selected in first step, cannot be edited here.
•Description.
•Contact Person.
In the row menu rightmost on each row you find actions Edit and Delete. In Edit form you can edit all vendor properties except Vendor Type.
In the bottom of form you can enter contact information of the vendor, Address, Email and Phone. Click Add link to add new info for the respective category (Address, Email and Phone) and input data in popup. It is possible to add multiple set of information for each category.
Buttons is
used to edit and delete existing information.
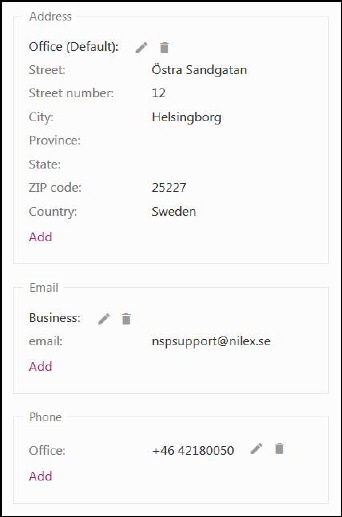
Vendor contact information
Searching, sorting, filtering, refresh, paging and change column width functions are similar to other lists, see section General User Interface.
View/Edit a Vendor
Click a row in the vendor list to open view form for a Vendor. The form displays general vendor info in left panel and in right part tab Properties, containing vendor Description and all custom properties defined for the Vendor Type.
In top right corner you find buttons for Info, Refresh, Edit and Delete. In Edit form you can edit all vendor properties except Vendor Type.