This feature enables chatting between end-users and agents, or agents among themselves.
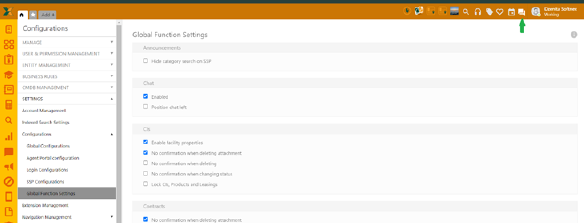
To enable the feature, go to Configurations > Settings > Global function settings > Chat and mark Enabled (*make sure to save and refresh the page to apply settings).
The chat bubble on the Self-service portal is placed in the bottom right corner of the screen by default. It can be moved to the left, if you mark the option “Position chat left”.
Once the chat option is enabled, the chat bubble icon will show in the header of the Agent portal and bottom right on the Self-service portal.
AP: Chat settings
SSP Chat
To start chatting on the SSP, simply click the chat bubble to open the pop-up window and start typing. When you are done, click the send arrow on the right. Your message will be forwarded to all the agents within your organization.
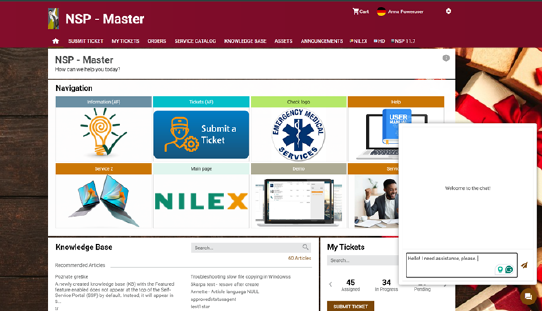
SSP: Chat pop-up window
When the new message is received, you’ll see a red dot badge on the top of the chat icon.
You’ll receive a notification message if the agent closes your chat or creates a ticket based on your request. The message will contain the ticket number which will appear first in the ticket tab.
The ticket issue can be further handled in a regular ticket procedure or discussed in the chat if the conversation is open.

SSP: Ticket number notification
To close the chat, click again on the chat icon.
Agent Portal Chat
As in the SSP, a red dot badge is placed above the chat icon when a new message is received. The red dot badge also appears next to each unread conversation in the chat list on the left menu.
Clicking the chat icon opens a chat window with conversation list on the left and conversation content on the right. Given the messages in the agent portal are received by all agents, you need to assign conversation to yourself, if you want to take over the request.
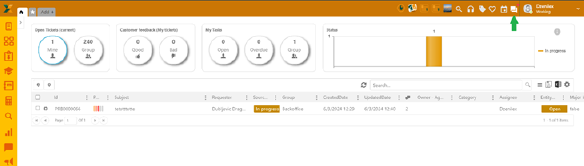
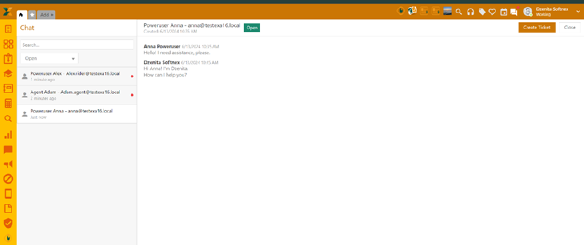
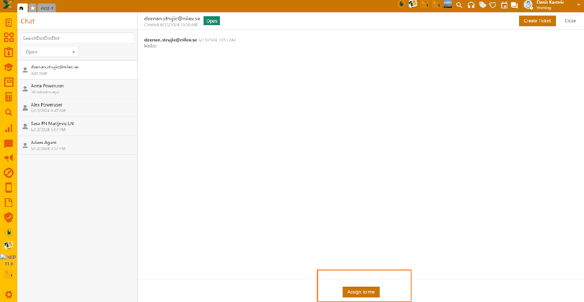
AP: New message received
Several other options are available in the Agent portal, namely:
1. Search
a. Search bar is placed on the left menu. You can search for the messages by typing the name of the person
2. Filter: Open or Closed
a. Placed on the left menu, allows filtering of conversations by their status: open or closed.
3. Close conversation
a. Placed top right below the header, allows you to close the conversation. Once closed, the person who you chatted with will receive a notification message that the chat has ended.
4. Create ticket
a. In the top right. Clicking on the Create ticket opens a ticket form with an integrated chat transcript. Finish the ticket form by adding a ticket subject and ticket assignee and other relevant details. Note: The requester is automatically populated.
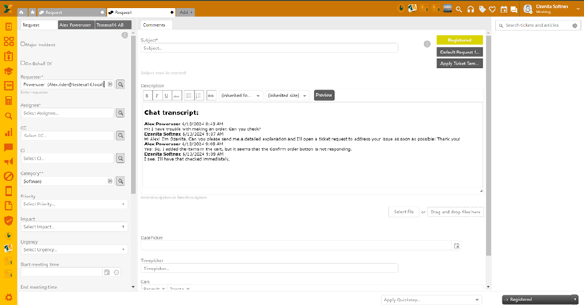
AP: Create a ticket from chat
Upon ticket creation, end-users or other agents involved in this conversation will receive a notification with the ticket number. This issue can be further handled in a regular ticket procedure or discussed in the chat if the conversation is open.
SSP: Ticket number notification