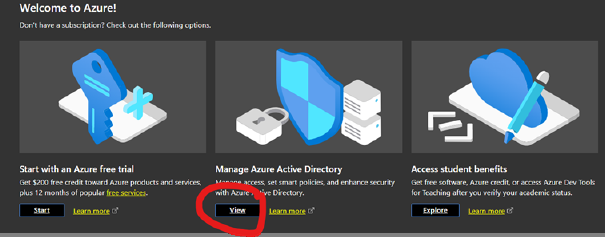
Go to portal.azure.com and log in as an administrator.
Click on View.
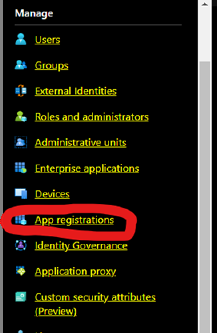
In the list on the left, click on "App registrations".
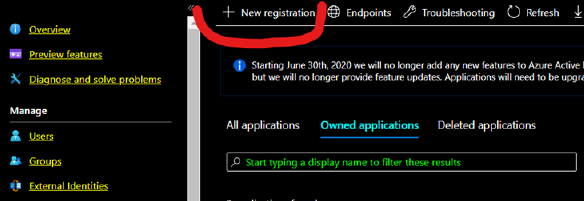
Click on "New registration".
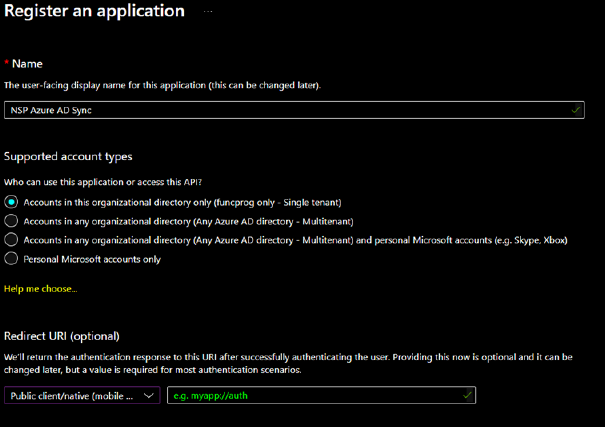
Enter a name for the registration.
Select Supported
account type and Redirect URI as shown above. Do not type in the text box for
the URI.
Click Register at the bottom left.
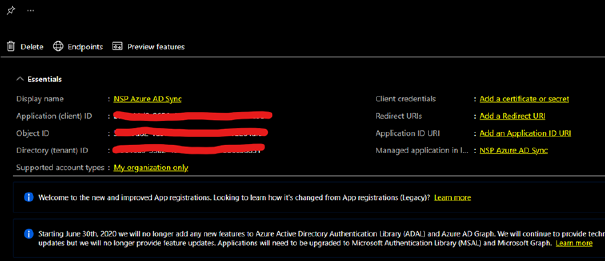
An overview of the registration is displayed.
Copy
Application ID and Tenant ID and save for later use in NSP Azure AD
Sync.
Click on "Add a Redirect URI" on the right.
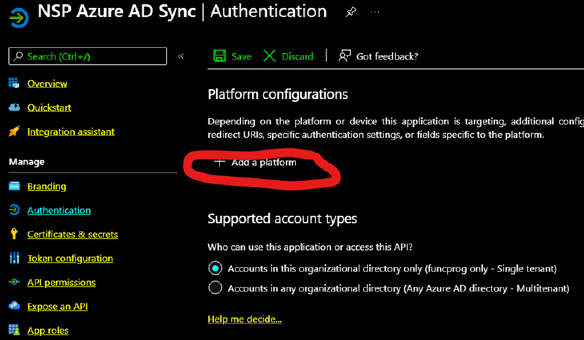
Click on "Add a platform".
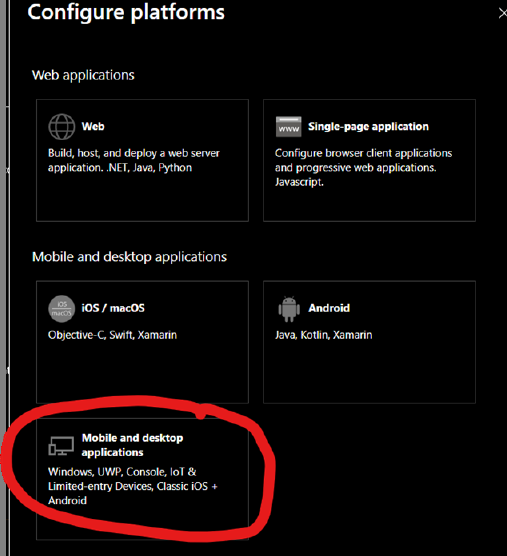
Click on ”Mobile and desktop applications”
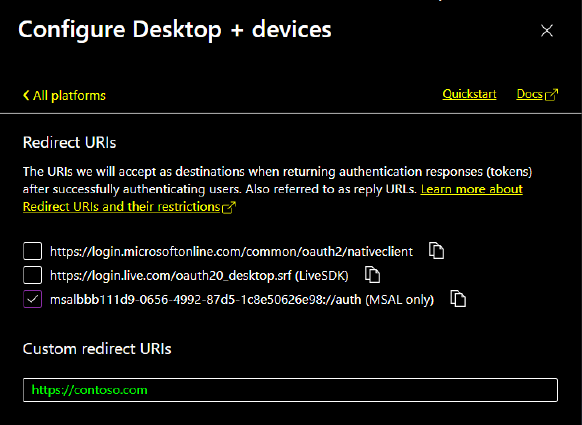
Select as shown above and click Configure at the bottom left.

Click on "Certificates and secrets".
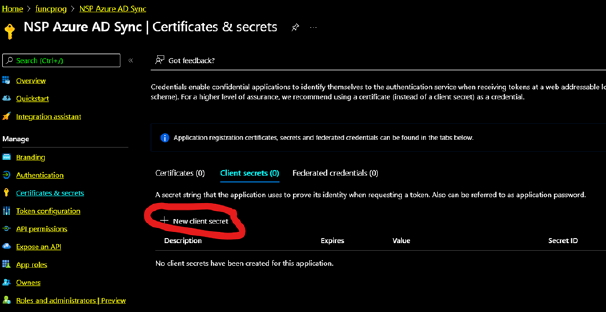
Click on “New client secret”.

Add a description, and choose how long "client secret" should be valid, and click Add.
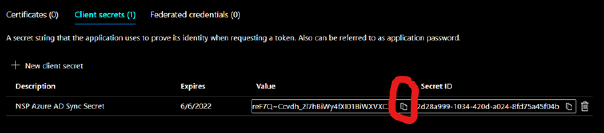
Copy Value and save for later use in "NSP Azure AD Sync"

Click on ”API permissions”.
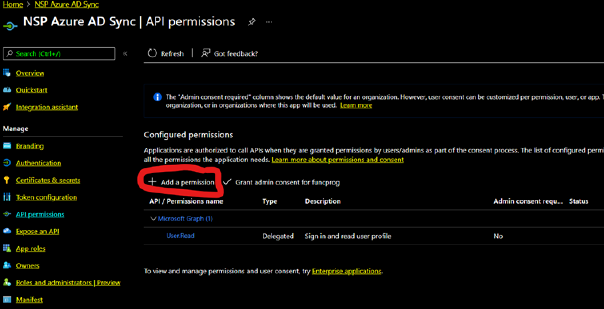
Click on ”Add a permission”

Click on ”Microsoft Graph”.
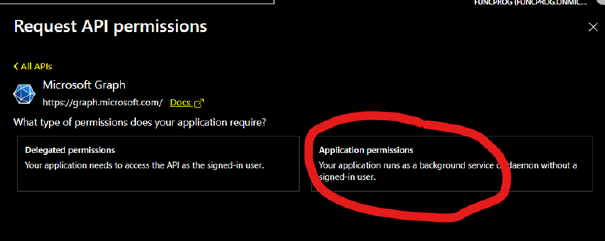
Click on” Application permissions”.
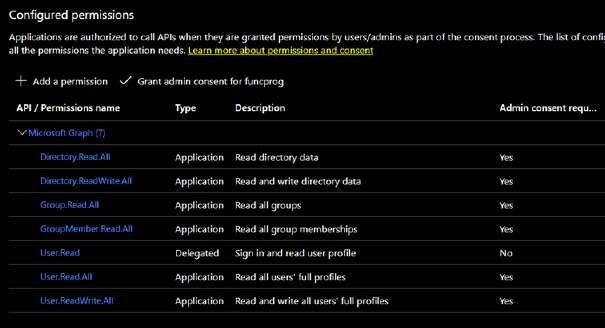
Add the above rights, and click on "Add permissions" at the bottom left.
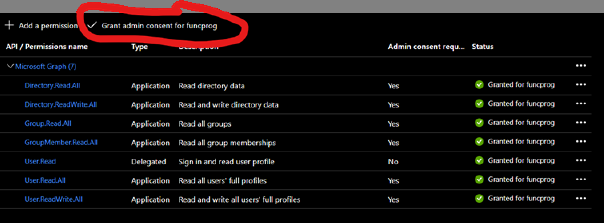
Click "Grant admin consent for XXX" and click Yes in the
next dialog box.
The registration is now complete.
Microsoft's guide for registering a Desktop App can be found here: https://docs.microsoft.com/en-us/azure/active-directory/develop/scenario-desktop-app-registration