First you must choose the session that the scans will be stored upon.
Tap the Take Inventory link in the CMDB Main Menu and list of your Audit Sessions with the following fields.
Session Name
Responsible Agent: Displays name of responsible agent
Asset Inventory Name: Each session is connected to an Asset Inventory that helps to create structure among the sessions. The sessions can for instance be grouped by when the scan is made (Asset Inventory =”May 2017”) or the physical premises (Asset Inventory =”Building A,Level 2”)
Start Date: Displays audit session start date.
Tap the desired session and you will enter scanning session Info page.
Inventory sessions
Click the Ellipsis menu and tap Scan asset. You will then enter scanning mode.
Before entering scanning mode, the application will offer the option to set the default parameters that will be set to CI after each scan. Eg. For each CI you want to scan, you can set a specific status, location, etc.
Position your mobile or scanning device so it detects the code. If you are using a mobile you do not need to tap the screen for it to read. Just hold still until it has focused.
When the scan is made two different scenarios will unfold:
The item is new to the system in which you are asked to either
Add CI
Associate with CI – gives the Inventory number to the CI you choose.
Scan again
The item exists – in this case you can write a remark (not necessary) and save the scan. The remark is saved on the scan log, not on the CI.
You can at any moment discard the scan by tapping
the check icon 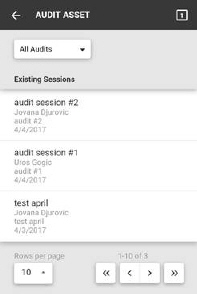 .
.

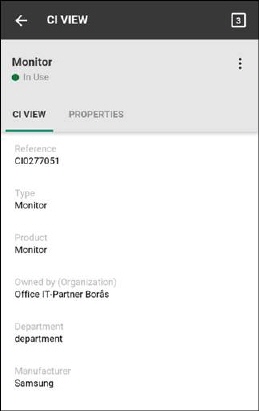
Audit Session Info Page