Add checklist view
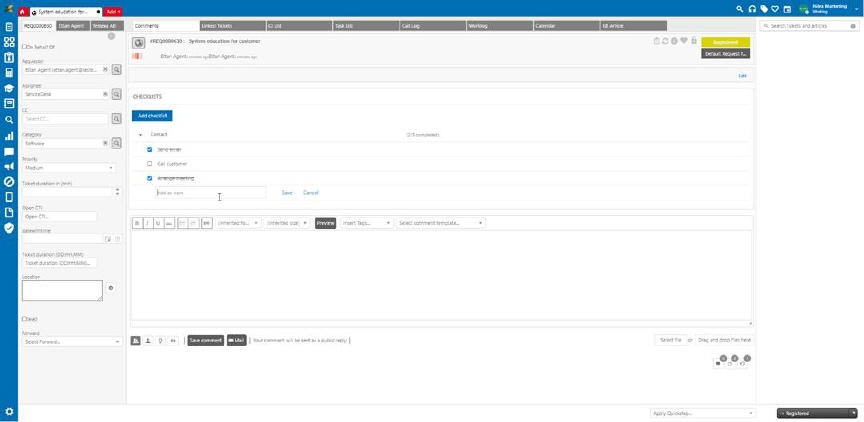
With the checklist function, you can make “to do lists” in form of unique notes for each ticket for which this option is activated in the configuration. Click on the Add checklist button and is write the name of the new checklist. The Add item button represents the addition of a specific activity in the checklist. After one of the activities from the checklist is completed, the agent can mark it as completed by clicking on the checkbox.
Add new item/mark as done
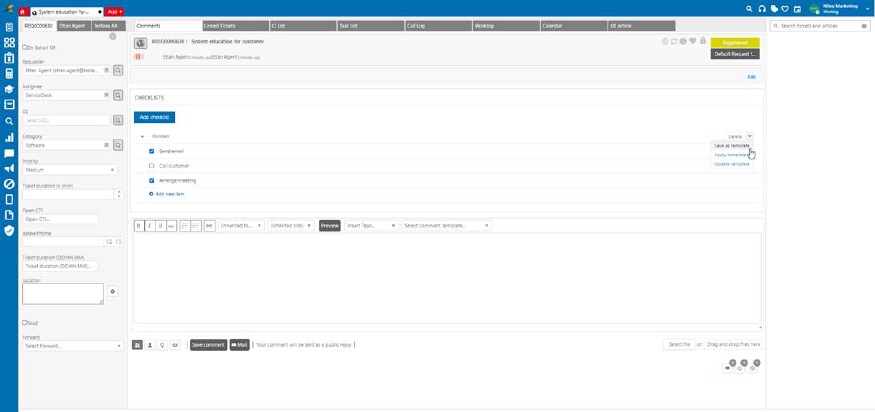
In this way, created checklists are unique for each ticket. If you want to use a checklist as a template, you need to save that checklist as a template first, by clicking on the Save as template option on the right side of the checklist name.
Save checklist as a template
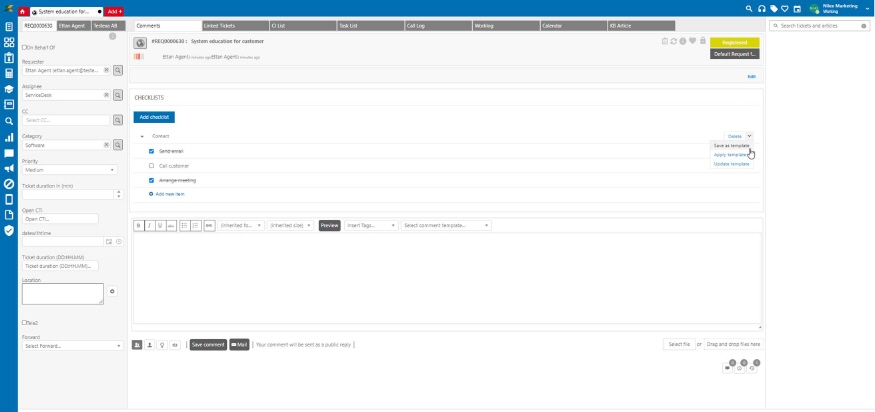
When creating a new checklist, after clicking the add checklist button, click on Apply template option, where you select one of the previously saved templates.
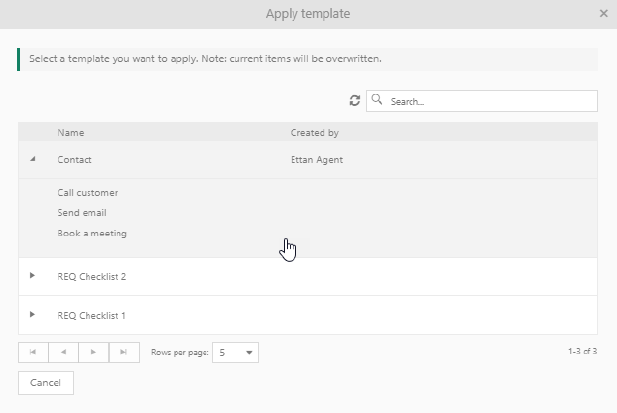
Create checklist from a template popup
Checklist templates can be applied in different tickets, but the tickets must be the same type as the original ticket from which the checklist was saved as a template. Each checklist can be deleted completely by clicking the Delete button, as well as individual items from the checklist.
Note: To make this function available, it must be activated in the Entity Editor for the selected ticket. Also, the logged-in user must be granted the right to see the checklists in Roles and Permissions.