NSP provide functions to create Email notifications for notifying their users in various events. Using notifications, users get informed for events that involve them. Different types of notifications are created for different types of users. The text in the notification is defined in Text Templates.
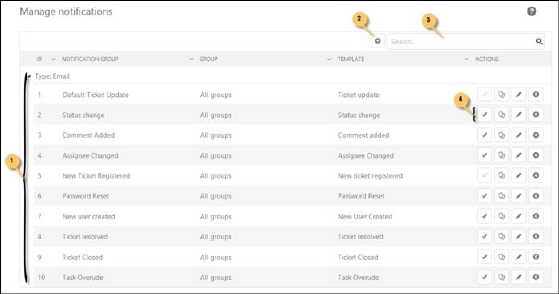
To access Notifications page, go to Configurations > Manage > Notifications. Select box Notifications for Tickets and Tasks. Below figure shows the Manage Notifications page:

Manage Notifications
The Manage Notifications page contains a list of notifications. The list contains existing notifications (1). All the notifications are grouped by their types within the list. Each row in the list contains a notification item that includes Id, Notification Name, Group, Template and Actions buttons (4). Action buttons are:
 Button to Deactivate the Notification.
 Button to Activate the Notification.
 Edit button to edit the Notification details. Clicking
on this button opens Notification Creation form
with already filled information.
 Delete button to delete
notification.
 Clone
button to clone the notification. Clicking on this button creates a replica of
the notification. Useful when you want to create a new notification similar to
existing.
Functionalities for search, sort, filter and paging are similar to other list in NSP, see section General User Interface.