Do a scan and mark the units where you want the Client agent to be installed. Then simply click on Install agentbutton.
Note! It is also possible to install a single agent by the menu Network units > Install to computer. It is also possible to select registered units in the list and chose reinstall agent.
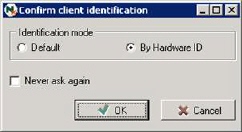
The following dialog may appear if this is first install:
Confirm the identification mode settings and click on Never ask again.
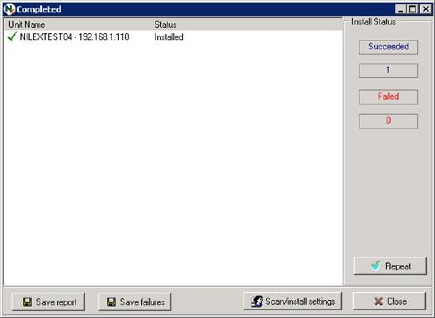
When the installation is finished Status “Installed”is shown. Save report and Save failures saves a text file which contains the list presented above of unit name and status.
If agent installation fails
There can be many reasons an agent installation can fail. Network access may fail because the file sharing service is disabled, or that the firewall has blocked TCP/IP ports 139, 445. It may also be that the account used for network access did not receive local administration privileges which are required for installation. In that case it is possible to define other account in Scan/install settings.
After changing account or other settings, it is possible to select the unit with failed agent installation and click on the Repeat button to try again.
For more information about prerequisites in order for successful agent installation, see Nilex Network Scanning installation manual, chapter Technical information about agent installation.